
Here's what the end result will be:
As you can see that response has:
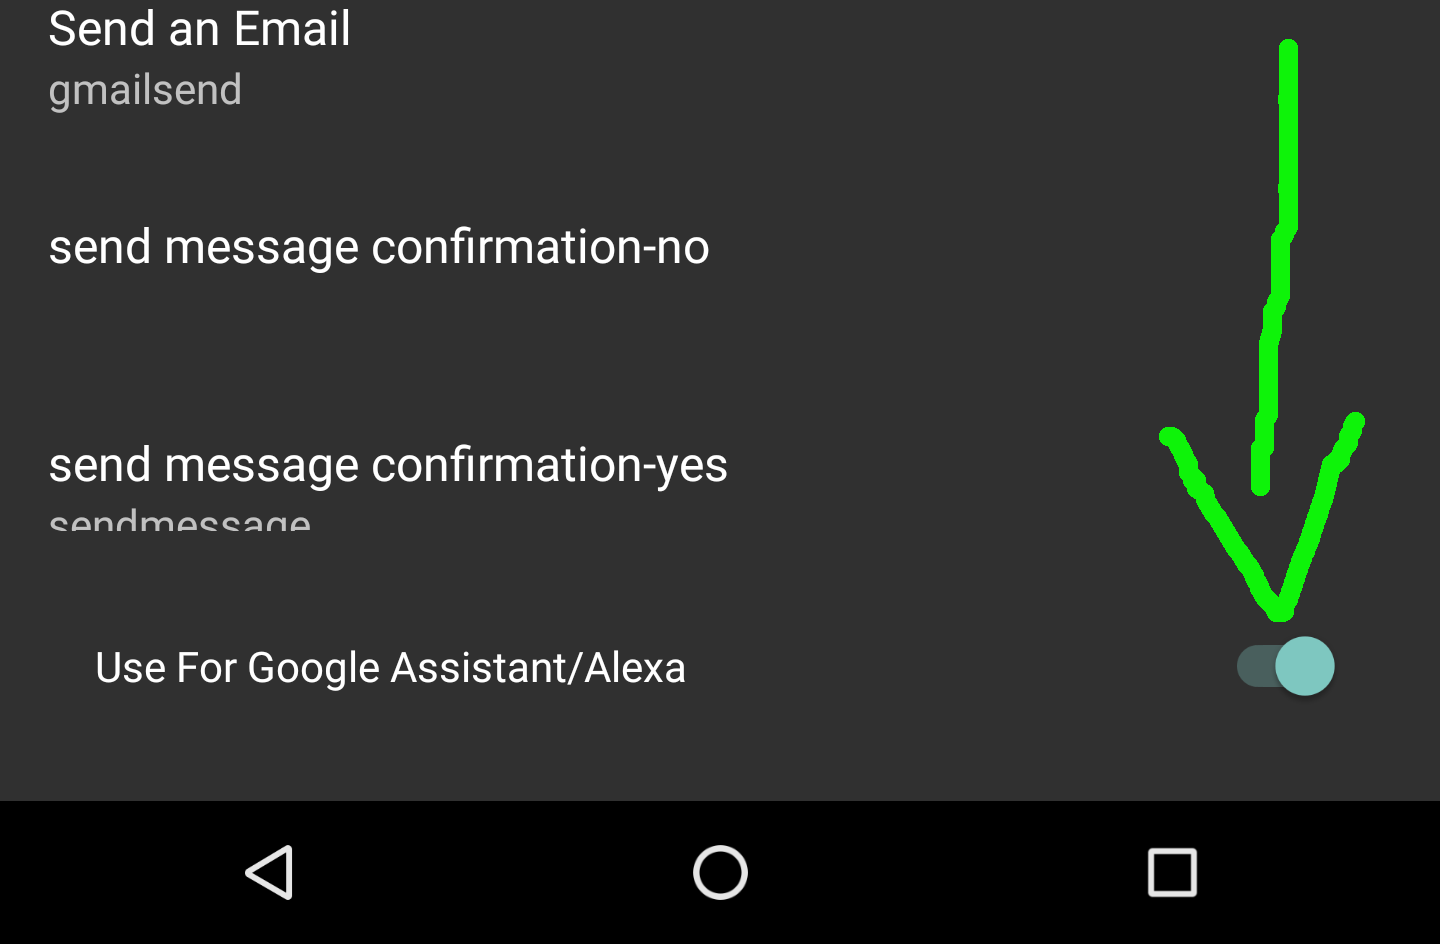
For this tutorial you'll have to have the Use For Google Assistant/Alexa toggle enabled in the AutoVoice Natural Language Commands screen:
- an audio response that's different to what's on the screen
- suggestion chips at the bottom that you can click to perform commands
- a card with an image that you can interact with to open a link
STEP 1 - CREATE COMMAND
- Open AutoVoice -> Natural Language -> Commands -> Add
- Create a command with the text say hello and the response hello there!
- Accept all the other default settings
After creating this command you'll get this when testing on the Google Assistant:
STEP 2 - DIFFERENT AUDIO AND WRITTEN RESPONSES
- Edit the command you just created
- Touch on Responses
- Add a new Response of the type Simple Response
- In the top textbox write hi!
- In the bottom textbox write hello there! how can I help you?
This will make the text response be different from the audio response when calling this command from Google Home/Alexa/Google Assistant
This is how it works now:
STEP 3 - ADD SUGGESTIONS
- Touch the say hello command you created before
- Select the Toggle Finish Assistant Conversation option to make this command not end the conversation with the Google Assistant
- Add a new Response of the type Suggestion Chips
- Set the text as:
Code (Text):play a movie
go to sleep
control my tv
- Accept and test
Here's how it looks now:
As you can see, if you touch one of the suggestions, the corresponding command will be sent to AutoVoice.
Remember to make the say hello command not end the conversation or else the suggestions won't show up
STEP 4 - CREATE CARD RESPONSE
- Add a new Response of the type Basic Card
- Set the content to whatever you like but make sure the Button URL is a valid website and that the Image URL is a publicly accessible image like this one.
- Accept and test
Here's how the final response looks like. Nice huh?
Create Special Responses For AutoVoice Commands on Google Assistant
Learn how to harness the power of Google Assistant to get special responses from AutoVoice
